
[ad_1]
In this text, we will probably be going by the method of switching from the Exchange Classic Hybrid setup to a full Exchange Modern Hybrid topology. We may also see learn how to resolve the difficulty if one thing goes mistaken in the course of the course of.
Process to Switch from Exchange Classic Hybrid to Modern Hybrid
Before transferring ahead, we have to guarantee that there aren’t any current migration batches and migration endpoints. If there are any migrations working presently, we have to wait till these are full or take away them accordingly in order that there aren’t any endpoints or batches.
Remove Current Hybrid Configurations
The first step is to take away the present hybrid configurations. For this, we have to go to the Programs and Features from Control Panel and confirm that there is no such thing as a Microsoft Office 365 Hybrid Configuration Wizard. If there may be, we have to take away it.
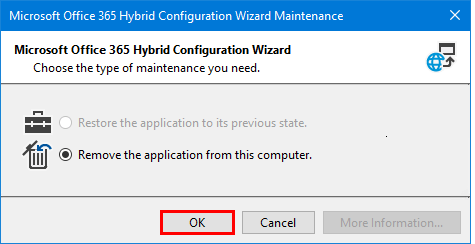
During this course of, tick the Remove the appliance from this pc choice and click on OK.
Set up the Modern Hybrid
We have to first obtain the brand new wizard from the Microsoft web site utilizing the hyperlink under.
Once downloaded, open the set up file and click on on Install.
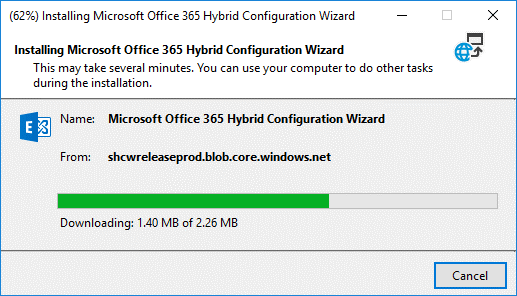
Once the set up is full, we are able to proceed to arrange the wizard and full our changeover.
Run the Modern Hybrid Configuration Wizard
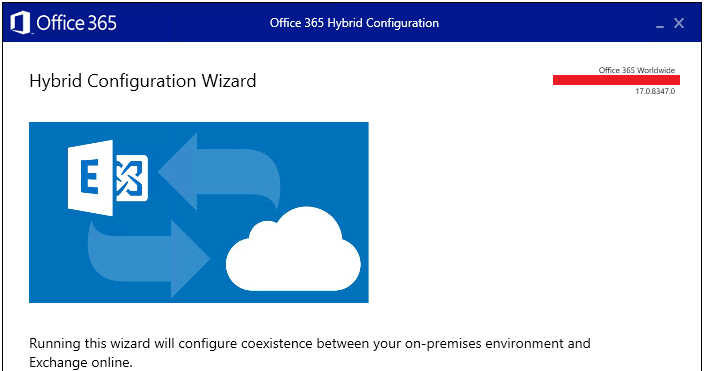
After the set up, the wizard will begin with the welcome display. Click Next to begin the method.
In the following display, it ought to mechanically detect the Exchange Server we’re working.
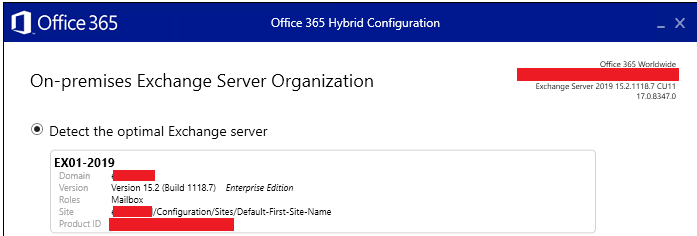
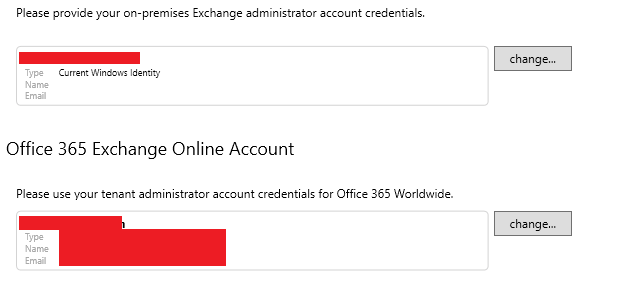
It is really helpful to run the wizard utilizing the person who has administrative entry on the Exchange Server. The credentials might be set within the subsequent display.
Here, it should ask to alter the native credentials (if totally different from the presently logged on) and for the Office 365 credentials for the vacation spot tenant.
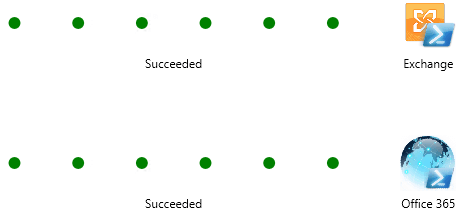
In the following display, it should take a look at the connectivity between the supply and the vacation spot. If all goes nicely, proceed to the following display.
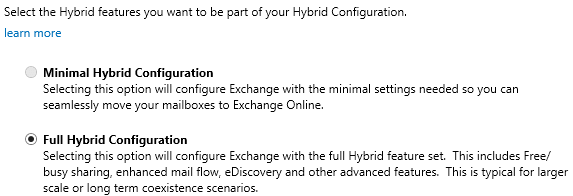
In the following display, choose the Full Hybrid configuration and click on Next. We can use the minimal hybrid, however it should have a reduce down model of the total hybrid with minimal settings. Use this simply to maneuver mailboxes to the cloud.
In the following display, we are going to see the checklist of domains presently in our Exchange Server. We want to pick the domains which will probably be part of the hybrid setup. In some circumstances, we are able to even have native domains that are usually used for notifications or different units. If it’s not a routable area, it shouldn’t be chosen for the migration.
Now, comes the Modern Hybrid half. Here, we have to select the Use Exchange Modern Hybrid Topology choice and create the customers for the migration in our Active Directory.
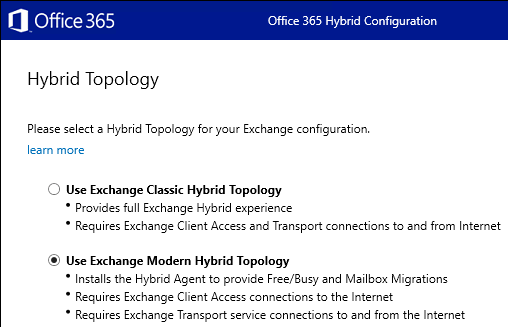
The above-mentioned person will probably be used for the migrations. It would should be created as a service account and member of the Organization Management group. Exchange Online will use this person as a service account to maneuver the mailbox knowledge to the cloud. This person will should be added within the subsequent display.
In the following display, login with the worldwide admin of Office 365 tenant. The Hybrid Agent will begin to obtain, set up, and register the agent. In this course of, it should additionally validate the configuration and connectivity.

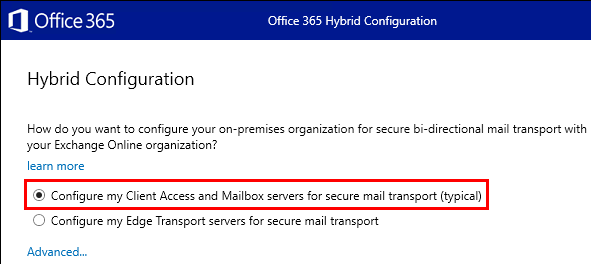
In the following display, we have to choose the mode of switch of the transport. If we’ve got a standalone server or a shopper entry together with a mailbox server with none Edge Servers, we have to choose the primary choice (as highlighted under).
In the following two screens, we have to choose the Receive and Send connectors for use when transferring knowledge between the cloud and the on-premises servers.
Now, choose the certificates for use for the transfers. It is greatest to not use the self-signed certificates. A certificates from a licensed certificates authority needs to be used.
Next, we have to enter the DNS title that represents our on-premises Exchange Server. This will probably be used to route e mail from the cloud to the native server. This can be routable from exterior to the Exchange Server. In most circumstances, it might be mail.<area>.
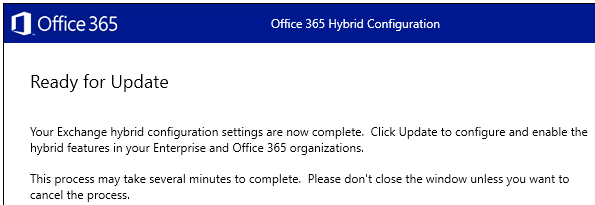
Once that is prepared, click on the Update button. Everything needs to be configured and arrange.
Conclusion
As you’ll be able to see, the setup is fairly straight ahead and will work. The downside comes when there is a matter with the native on-premises configuration or a limitation on the community. This will cease you from setting it up. Your Exchange Server is both not suitable or there may be some misconfiguration which can cease you from continuing. In such circumstances, you would possibly find yourself utilizing plenty of time and sources to resolve the issue.
An utility akin to Stellar Converter for EDB can help in such issues and get the info uploaded very quickly. You can open a number of EDB recordsdata from any model of Exchange Server, flick through them, and granularly export to PST and different codecs. In this case, you should use the appliance to instantly migrate to Office 365. The utility affords options akin to automated mailbox mapping, precedence exports, parallel exports, and continuation in case of interruption. It not solely exports person mailboxes but additionally archives, disabled mailboxes, shared mailboxes, and public folders.
By Gary Bernstein
[ad_2]